How Live Edge Tables Are Made
Many people see a raw slice of wood and think, "I'll just sand that and put legs on it." We usually see those tables six months later when they have twisted like a pretzel.
Building a true heirloom live edge table is a science as much as an art. Here is the step-by-step process we follow at Kovara to ensure stability and beauty.
Phase 1: The Raw Material
1. Sourcing
We source logs that have come down naturally or are sustainably harvested. We look for unique character—burls, crotches (where branches meet), and chaotic grain.
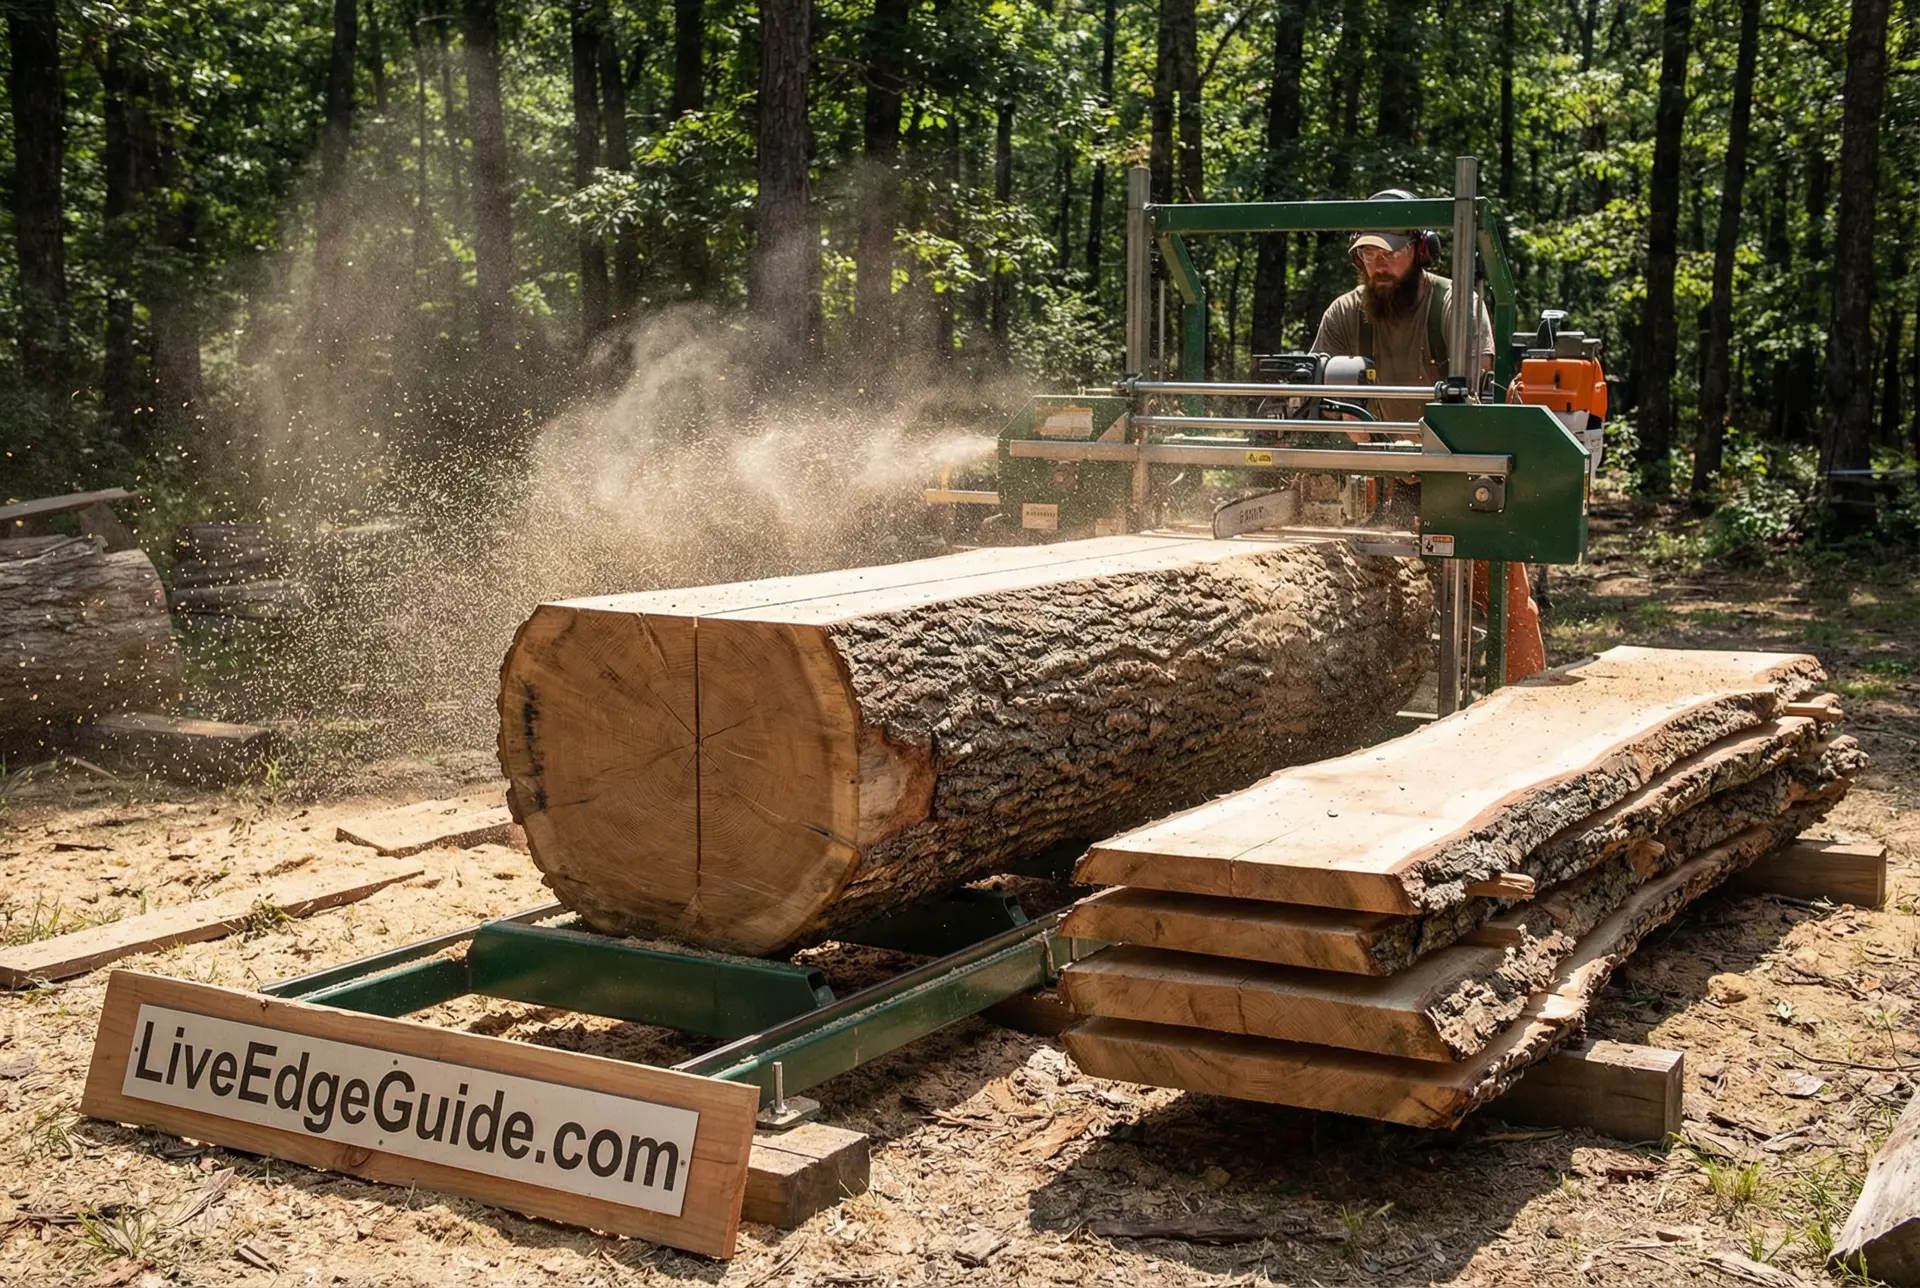
2. Milling
Massive bandsaw mills cut the log into horizontal slices (slabs). They are cut "through and through" to keep the sequence of the log intact.
Phase 2: The Science of Drying (The Most Critical Step)
If a live edge slab is the soul of the table, the drying process is its backbone. Without precise moisture control, the most beautiful slab on earth will eventually tear itself apart through internal tension.
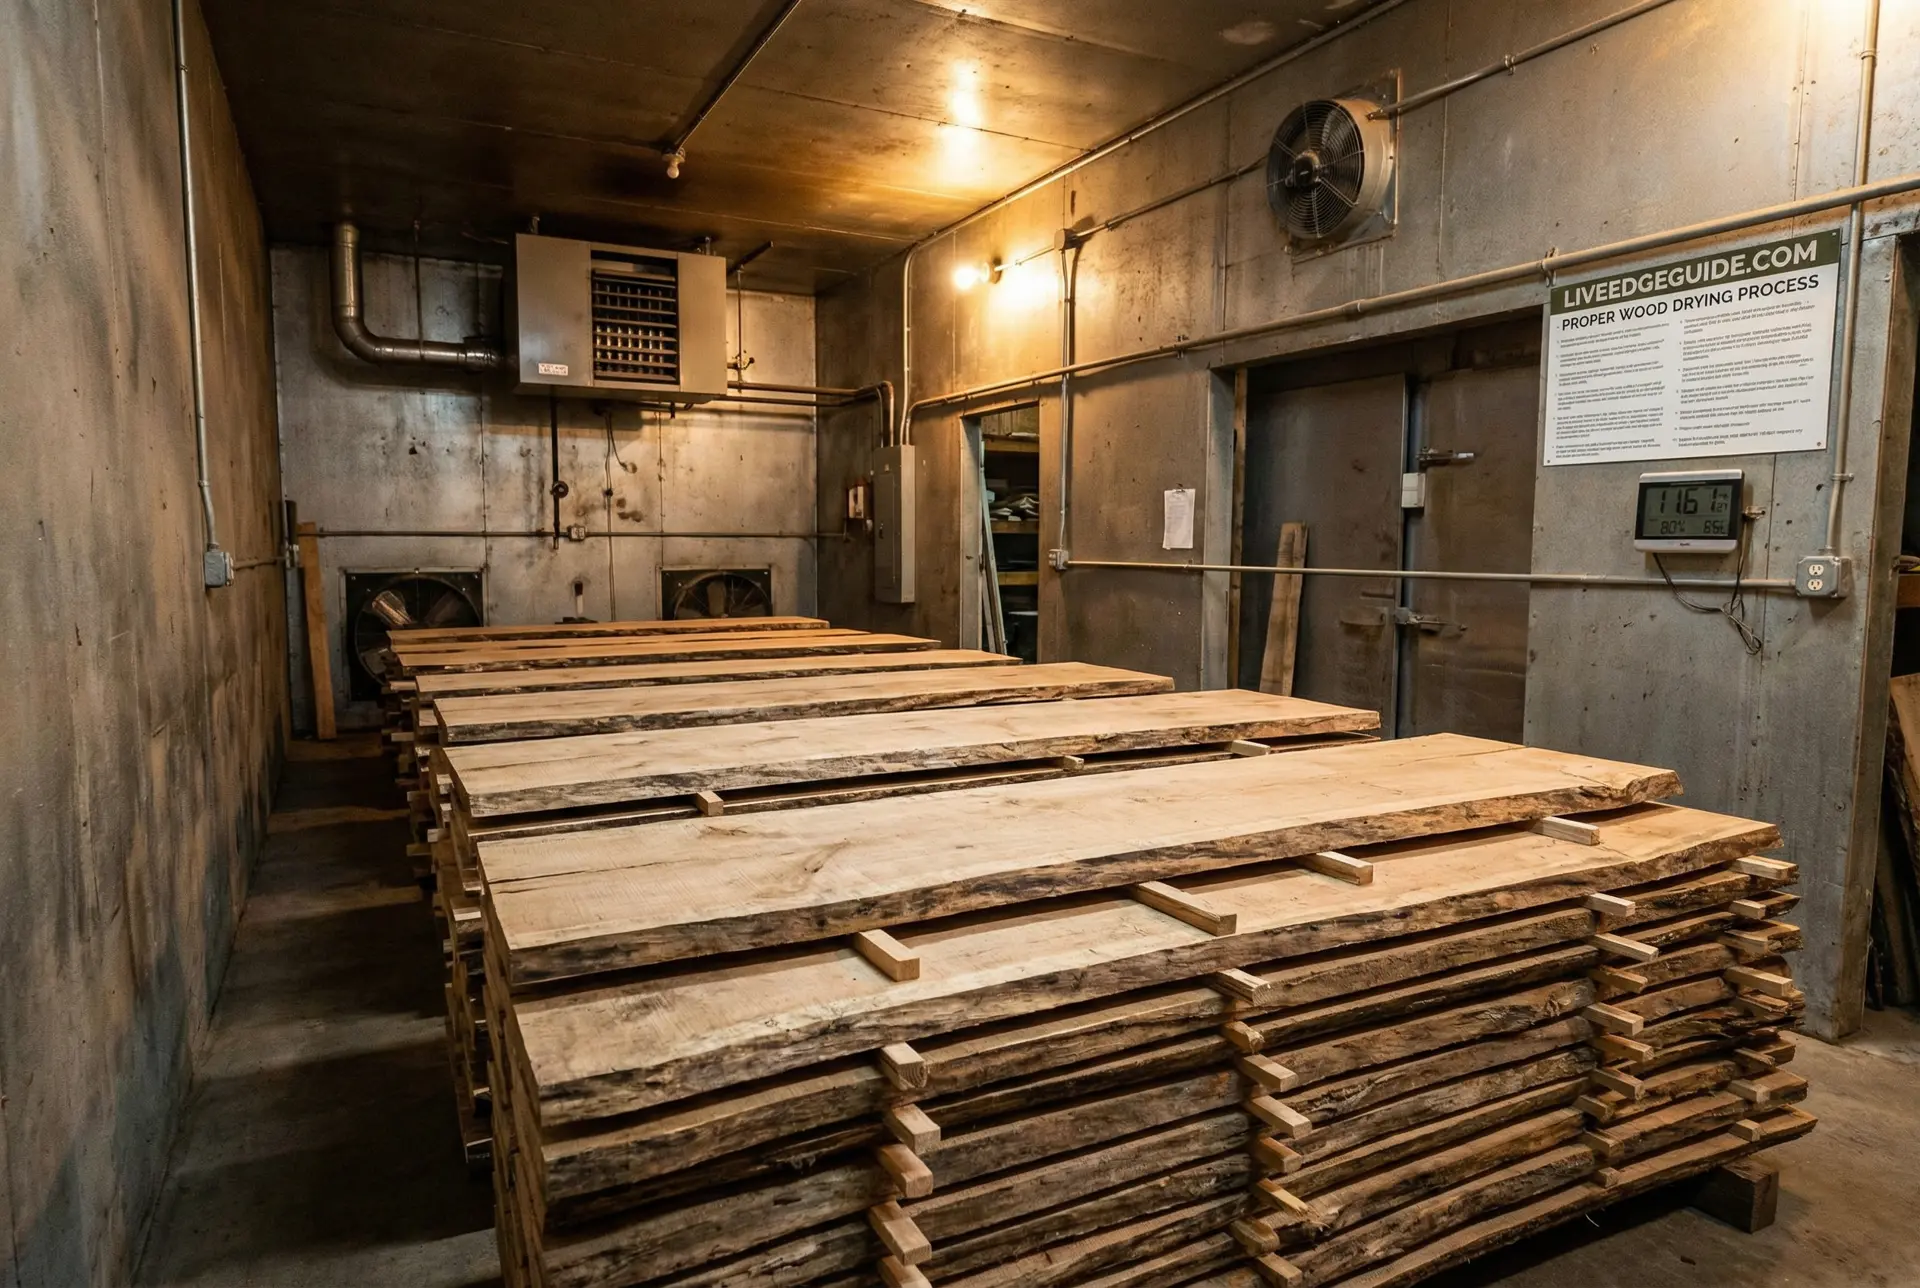
3. Air Drying: The Long Wait
Freshly cut wood contains "free water" (in the cell cavities) and "bound water" (in the cell walls). Air drying is the primary method for releasing free water. We "sticker" the slabs—placing small strips of wood between them—to allow airflow.
- Duration: Typically one year of air drying for every inch of thickness.
- The Goal: Reach a fiber saturation point (around 25-30% moisture) before the precision of the kiln takes over.
4. Advanced Kiln Technologies: The Physics of Moisture
To reach the required 6-8% moisture content for indoor furniture, we use specialized kilns. The drying process is governed by Psychrometrics—the study of air and water vapor mixtures.
The Kiln Schedule
We don't just "turn on the heat." We follow a rigorous "Kiln Schedule" that adjusts the temperature and relative humidity of the chamber every 24 hours.
- The Danger of Speed: If moisture is pulled from the surface too fast, the outer layers of the wood will shrink and "lock," while the center remains wet. This creates massive internal pressure that leads to "Honeycombing"—internal cracks that aren't visible until you cut the slab open.
- Our Protocol: We use low-temperature dehumidification to ensure the moisture gradient (the difference between the surface and core) never exceeds 2%. This patience results in a slab that is "stress-relieved" and ready for a century of use.
Phase 3: High-Precision Fabrication and Chemistry
Once the slab is scientifically dry, we move into the fabrication phase where wood science meets high-end chemistry.
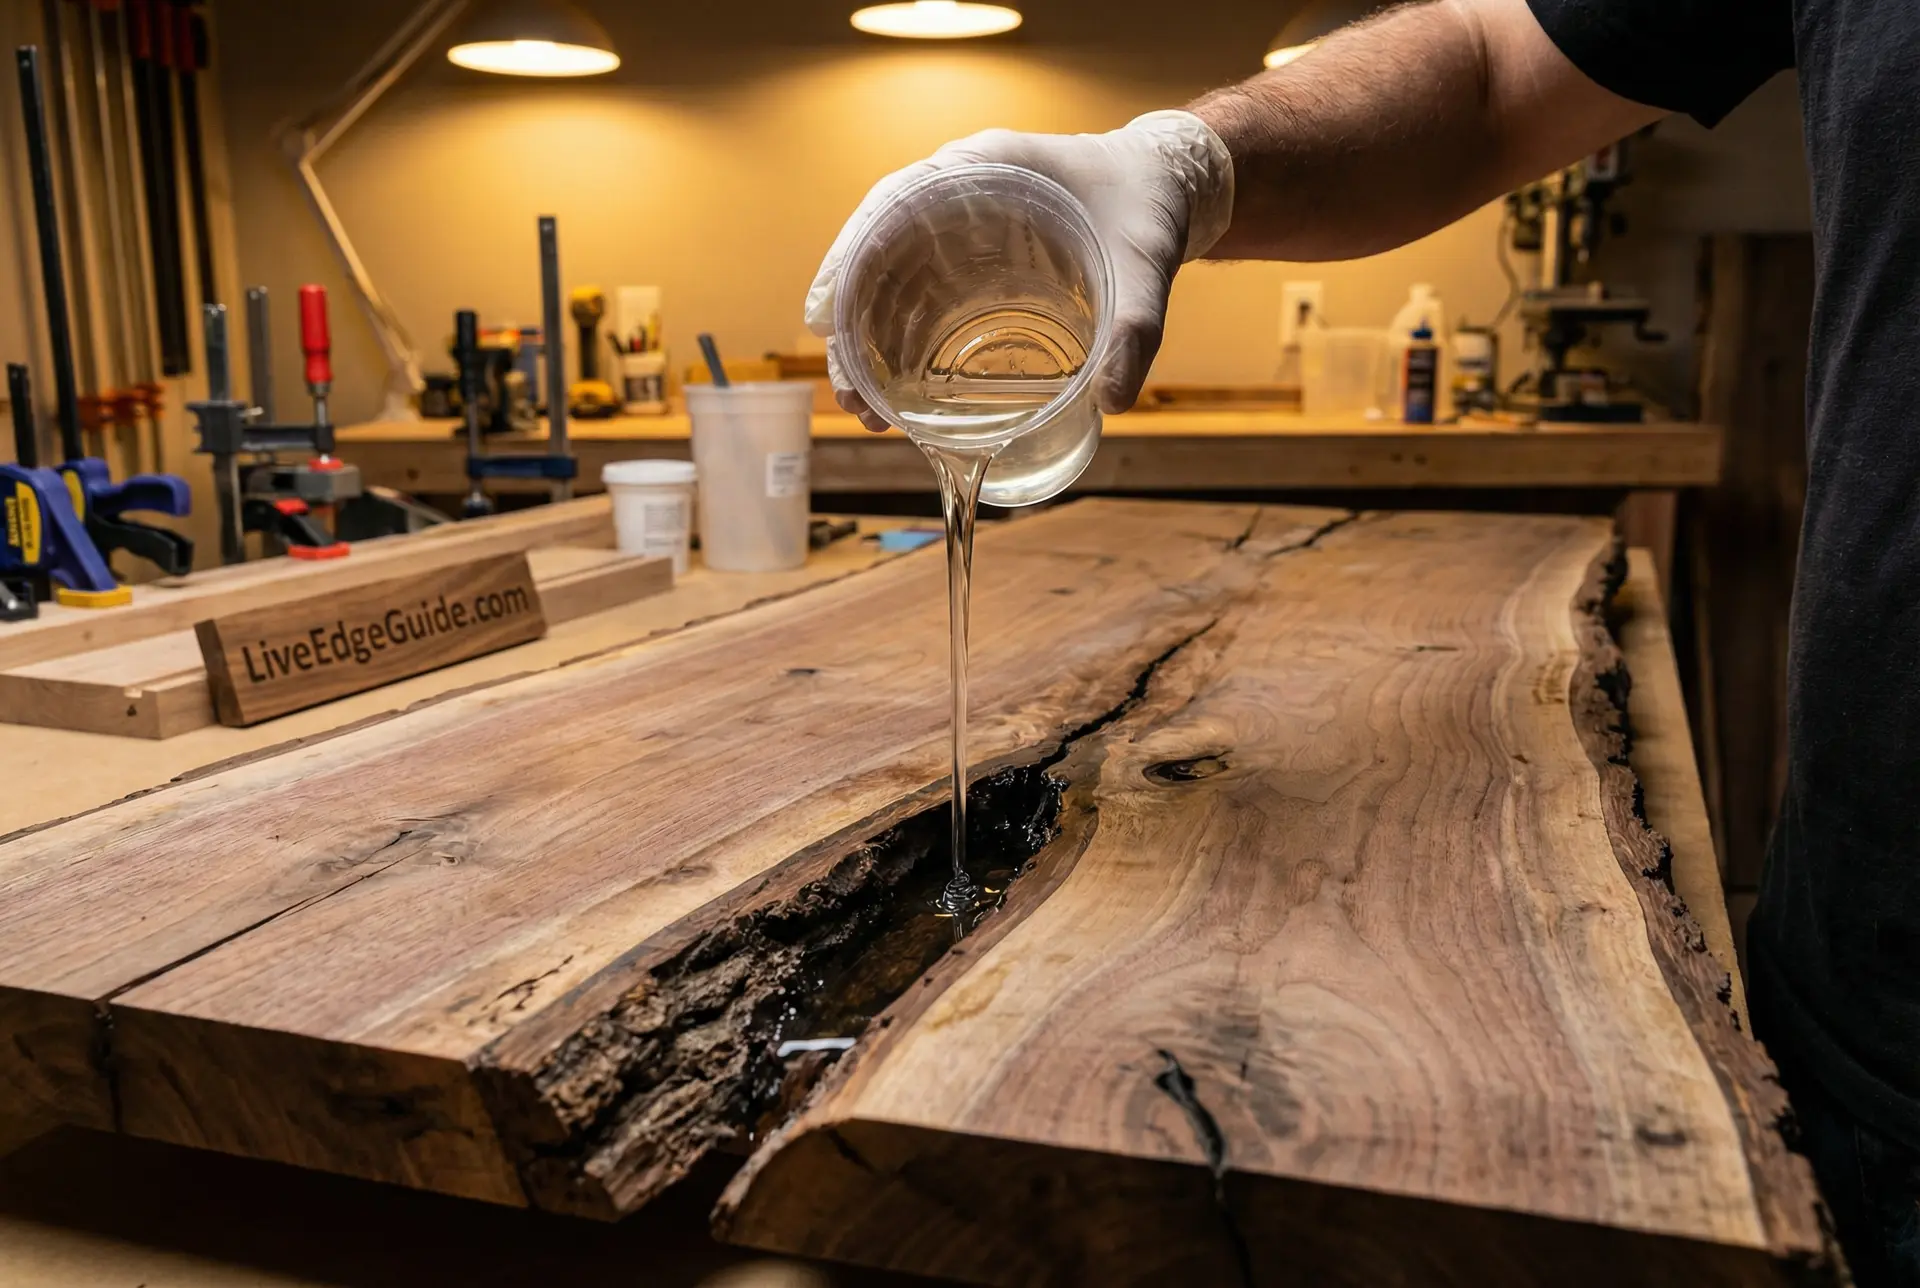
5. Managing the Exothermic Reaction (Deep Pour Epoxy)
Many live edge slabs have natural "Checks" or "Voids" that require stabilization. We don't use standard hardware store glue; we use industrial-grade Deep Pour Epoxy Resins.
- The Science of Heat: Epoxy cures through a chemical reaction that generates its own heat (an exothermic reaction). If a resin is poured too thick (over 2 inches) in a single pass without the correct chemistry, it can "run away"—heating up to 300°F+, cracking the wood, or even catching fire.
- Molecular Bonding: We use specialized slow-cure resins that stay liquid for 24-48 hours. This allows every air bubble to escape and ensures the resin creates a molecular bond with the cellulose of the wood, making the repair stronger than the original lumber.
Phase 3: High-Precision Fabrication
Once the slab is scientifically dry, we transform it from a raw plank into a precision-engineered### 6. Surfacing Dynamics: Achieving a Reference Plane Flattening a slab isn't just about removing wood; it's about architecture.
- Bit Geometry: We use 3-wing or 4-wing carbide surfacing bits. The geometry of the wings is angled to provide a "shear cut," which slices the wood fibers diagonally rather than head-on. This prevents "tear-out" on high-figured areas like burls.
- The Reference Plane: We secure the slab to a dead-flat CNC table using vacuum pods or mechanical stops. By machining the bottom first, we create a "reference plane." When we flip the slab, the machine knows exactly how much material to remove to make the top perfectly parallel to the bottom. For complex modern designs, see our Guide to Mastering Waterfall Edges.
7. Hardware Engineering: The Mastery of Threaded Inserts
A table that relies on wood screws will eventually fail as the wood expands and contracts.
- Threaded Inserts: We drill precision holes into the underside of the slab and install heavy-duty brass or stainless steel threaded inserts. These are internally threaded to accept machine bolts (typically M8 or 5/16").
- Structural Advantage: This allows the customer to remove and reattach the legs hundreds of times without ever damaging the wood fibers. It also provides a much higher "pull-out strength," which is critical for heavy metal bases.
8. The Physics of C-Channels
For slabs over 8 feet in length, we inset steel C-channels into the underside.
- Mechanical Force: Steel C-channels act as a structural "spine." While the wood wants to cup due to humidity, the steel forced into the milled channel prevents it from moving vertically.
- Slotted Holes: The channels are attached with bolts through "slotted holes." This is the secret to live edge longevity: the wood can move left-to-right (across the grain) while the steel keeps the top perfectly flat.
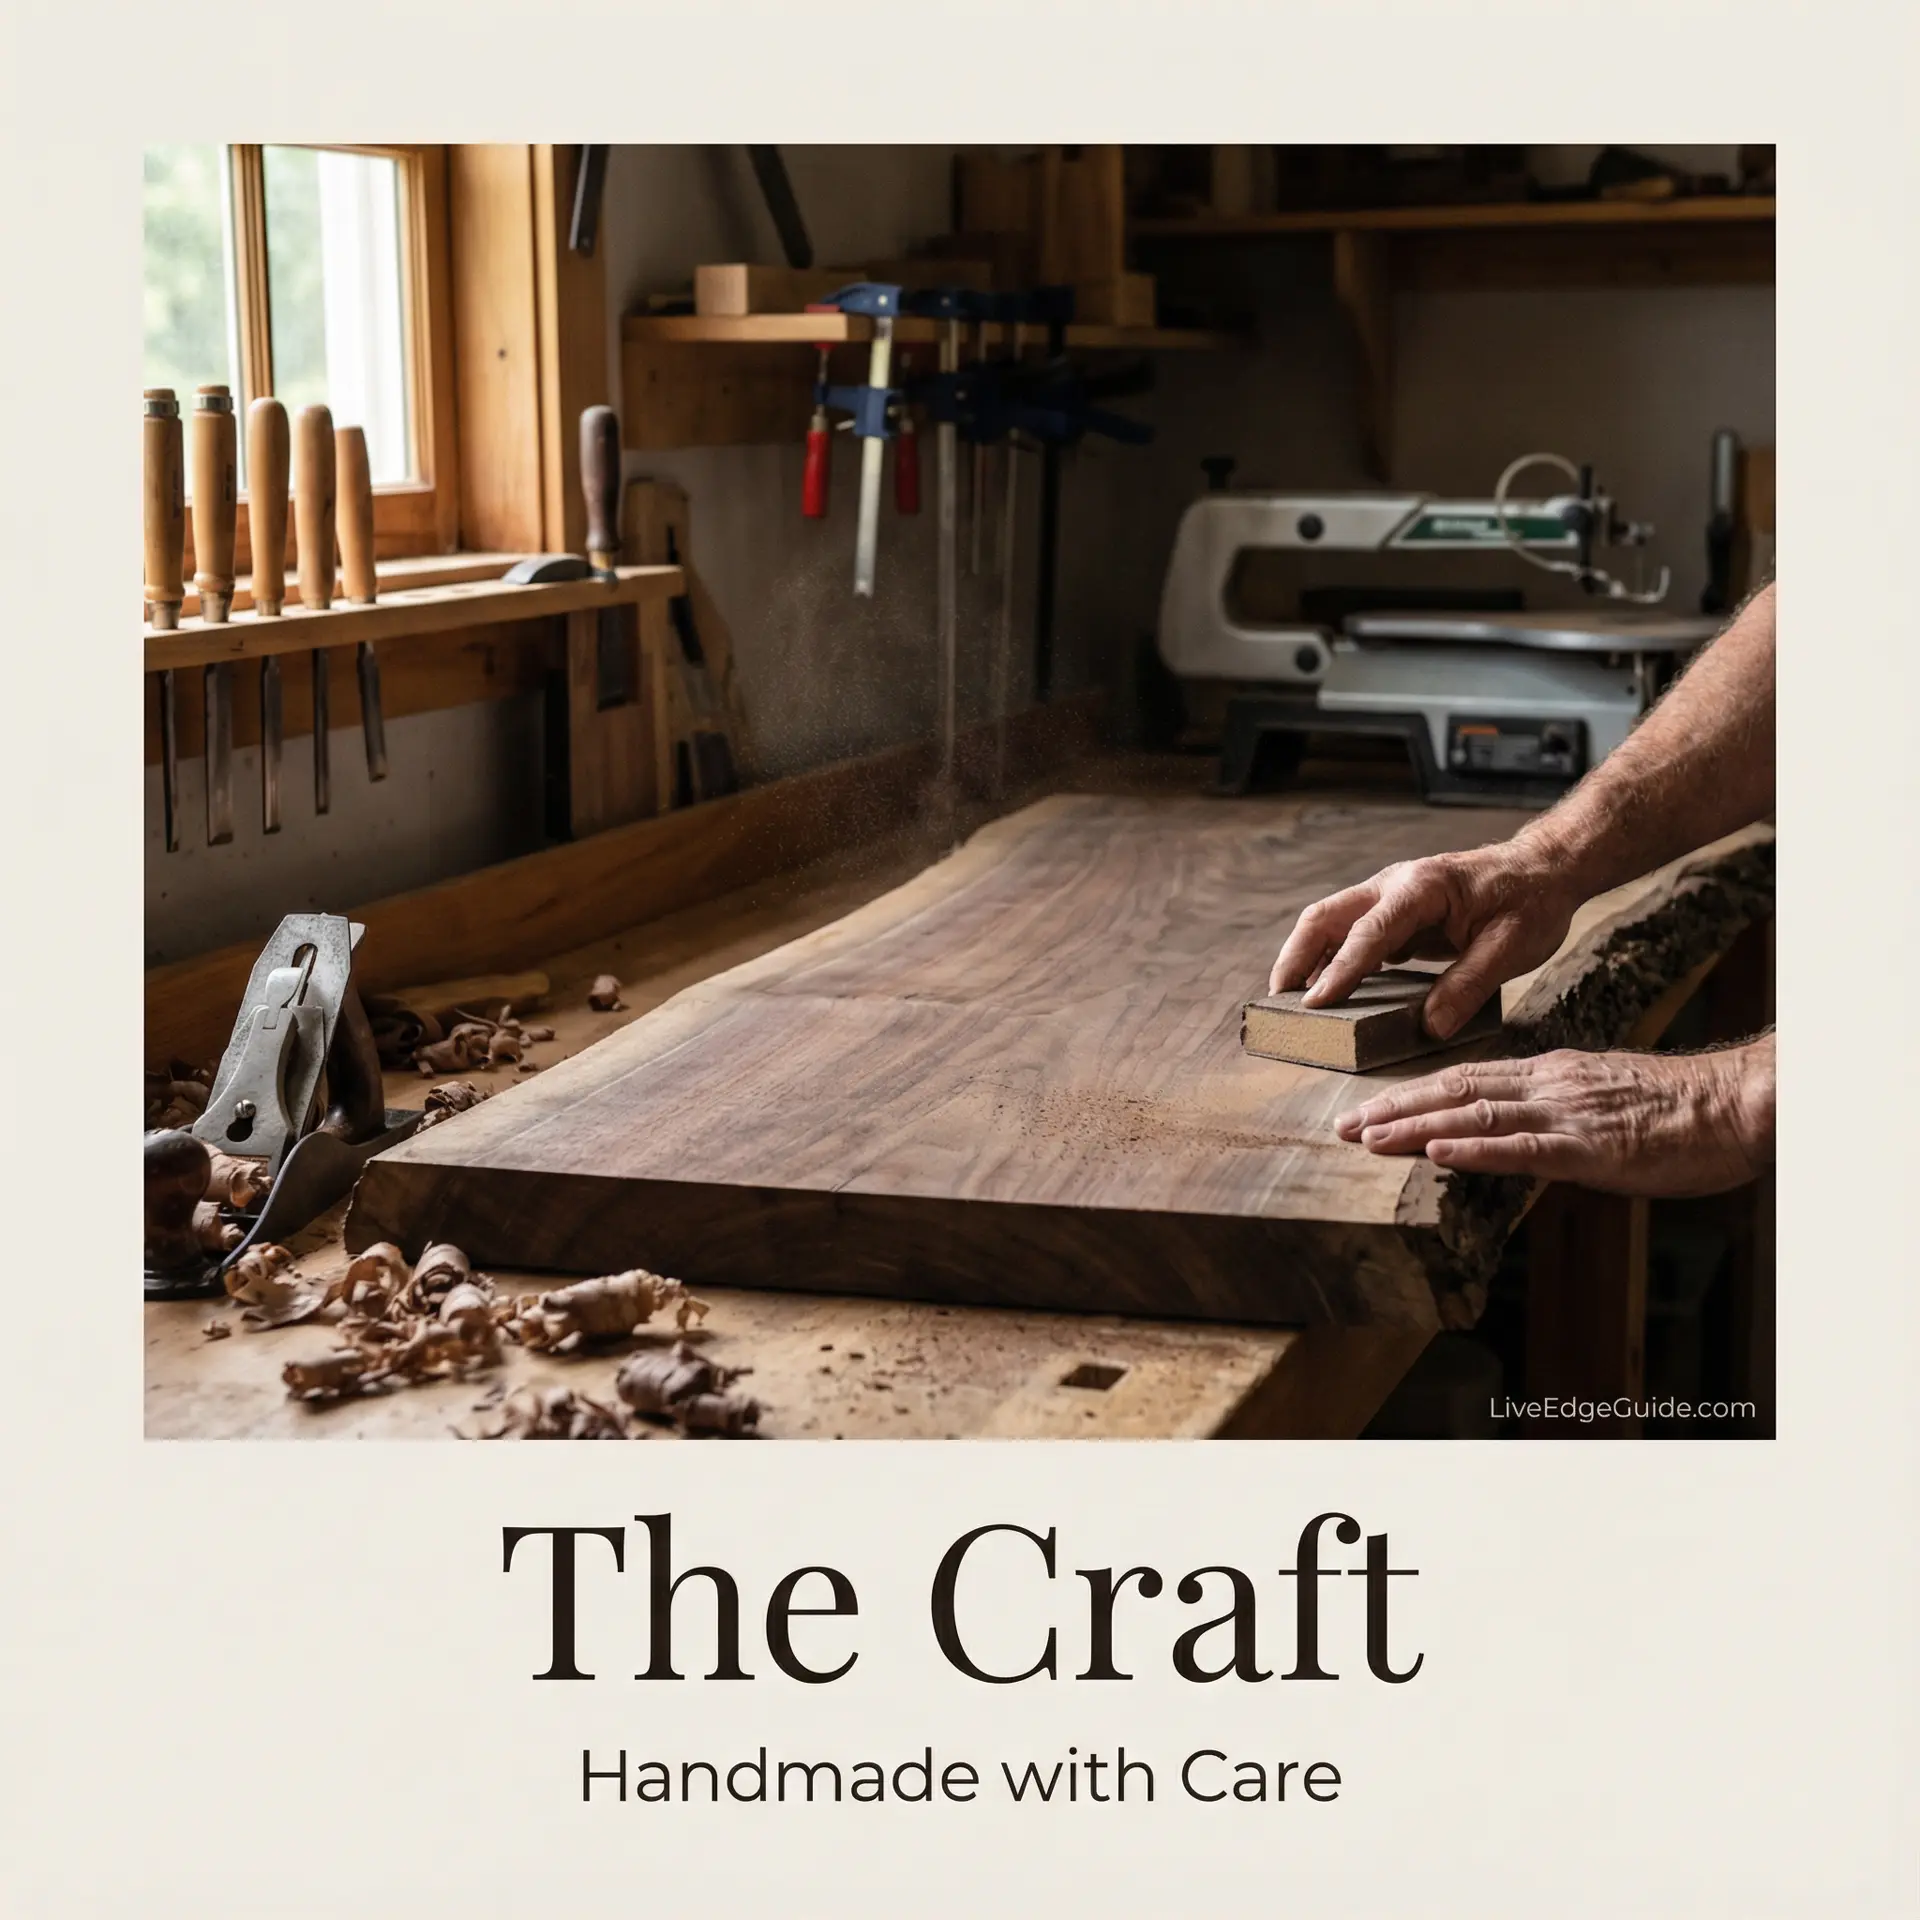
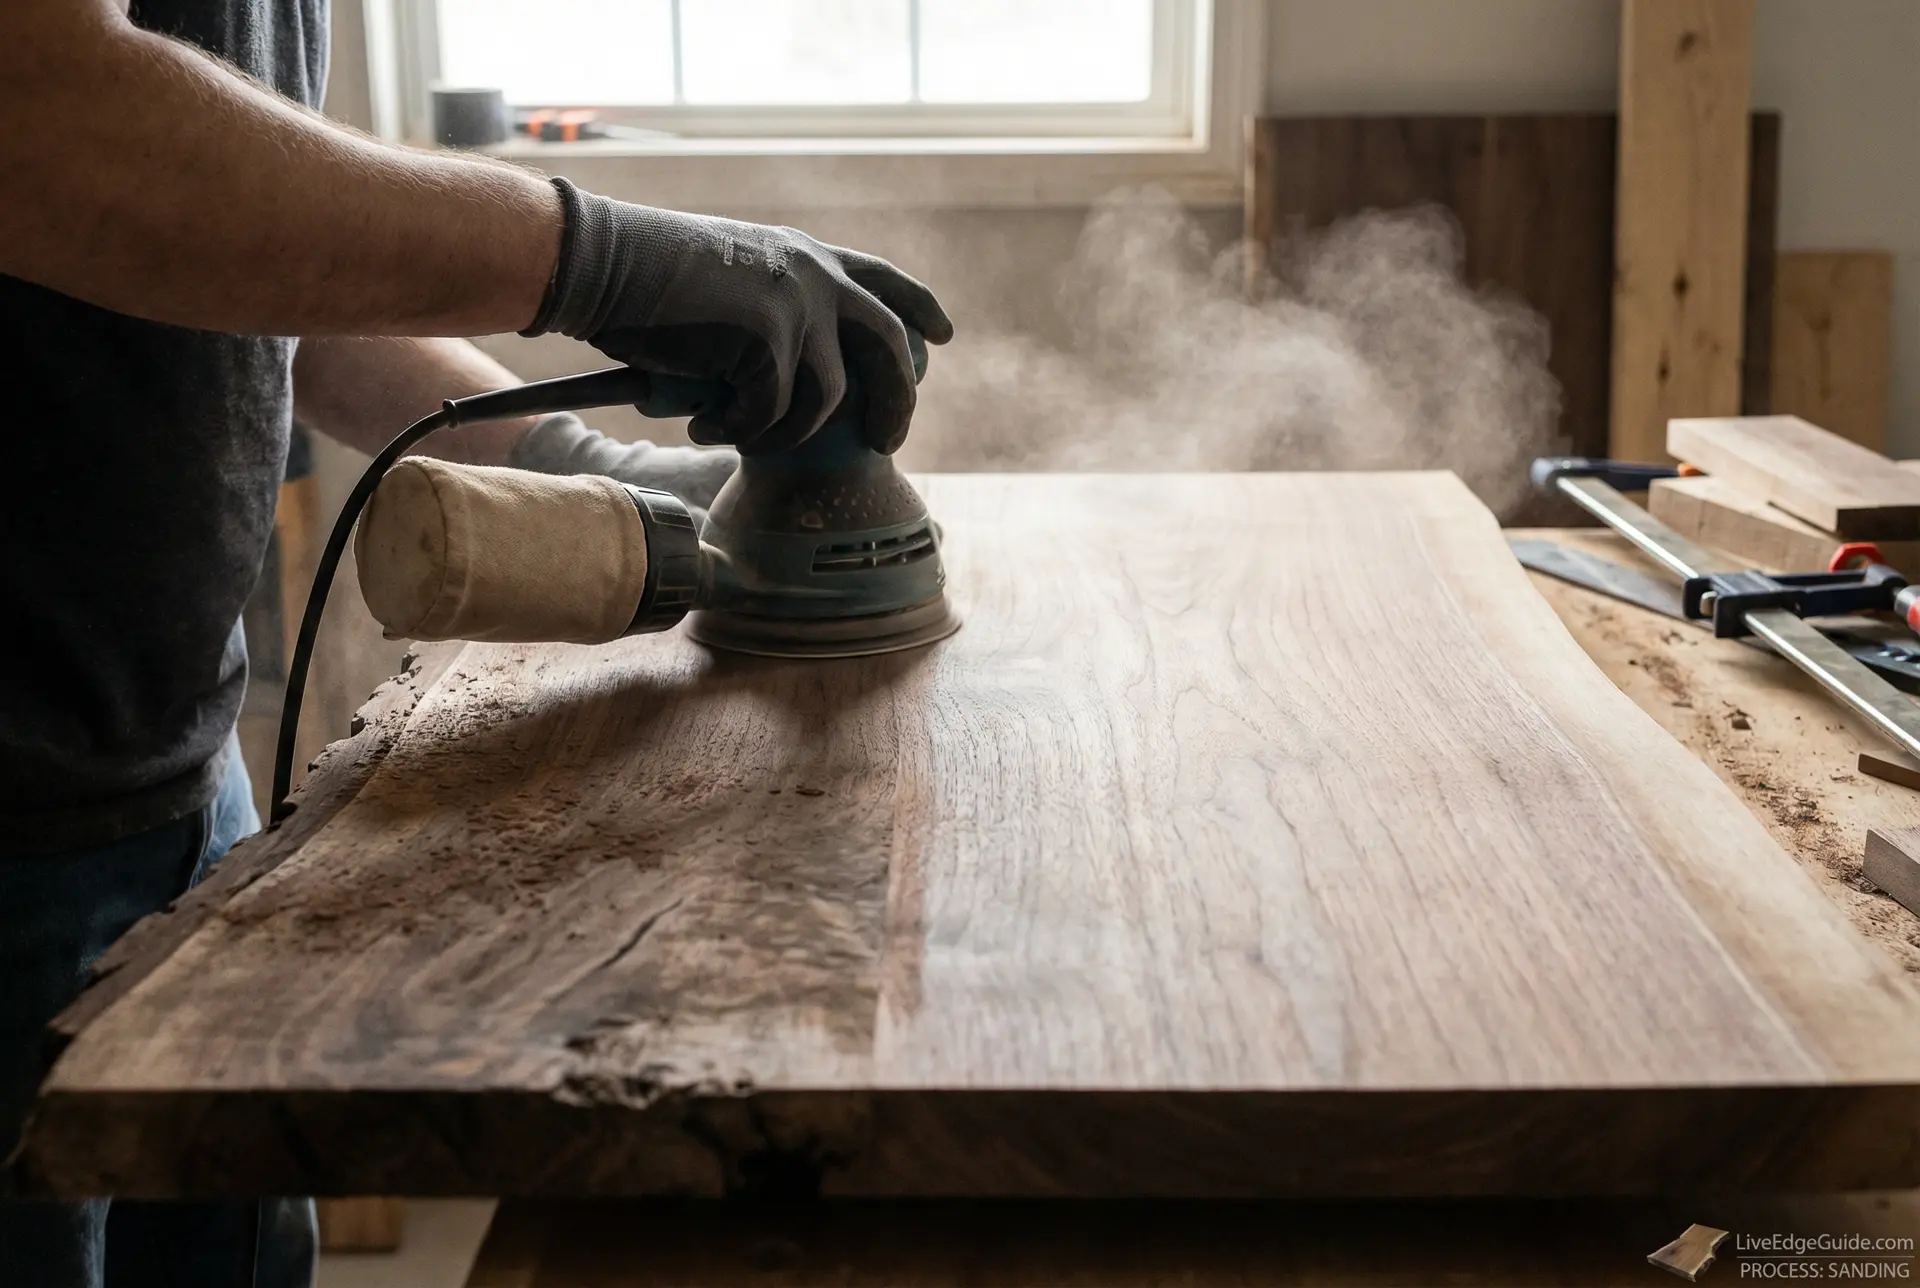
9. The Physics of Sanding
Sanding isn't just about smoothness; it's about "opening" the wood fibers for the finish.
- Grit Progression: We start at 60-80 grit to remove machining marks, then move through 100, 120, 150, 180, and finally 220 or 320.
- Water Popping: Between the final grits, we spray the slab with distilled water. This "pops" the wood grain—raising the crushed fibers so they can be sanded off. This ensures the table stays smooth even if you spill a drink on it later.
10. Mastering Epoxy Inlays
We don't just fill cracks; we stabilize them.
- Deep Pour Resins: For large voids, we use specialized slow-cure resins that bond at a molecular level with the wood, preventing the resin from pulling away over time.
- Color Matching: We can use transparent tints to maintain the "depth" of a hole or solid blacks/metallics for a high-contrast modern look.
Phase 4: Molecular Finishing and Assembly
The final phase is where the wood’s character is fully revealed and locked in for the long term.
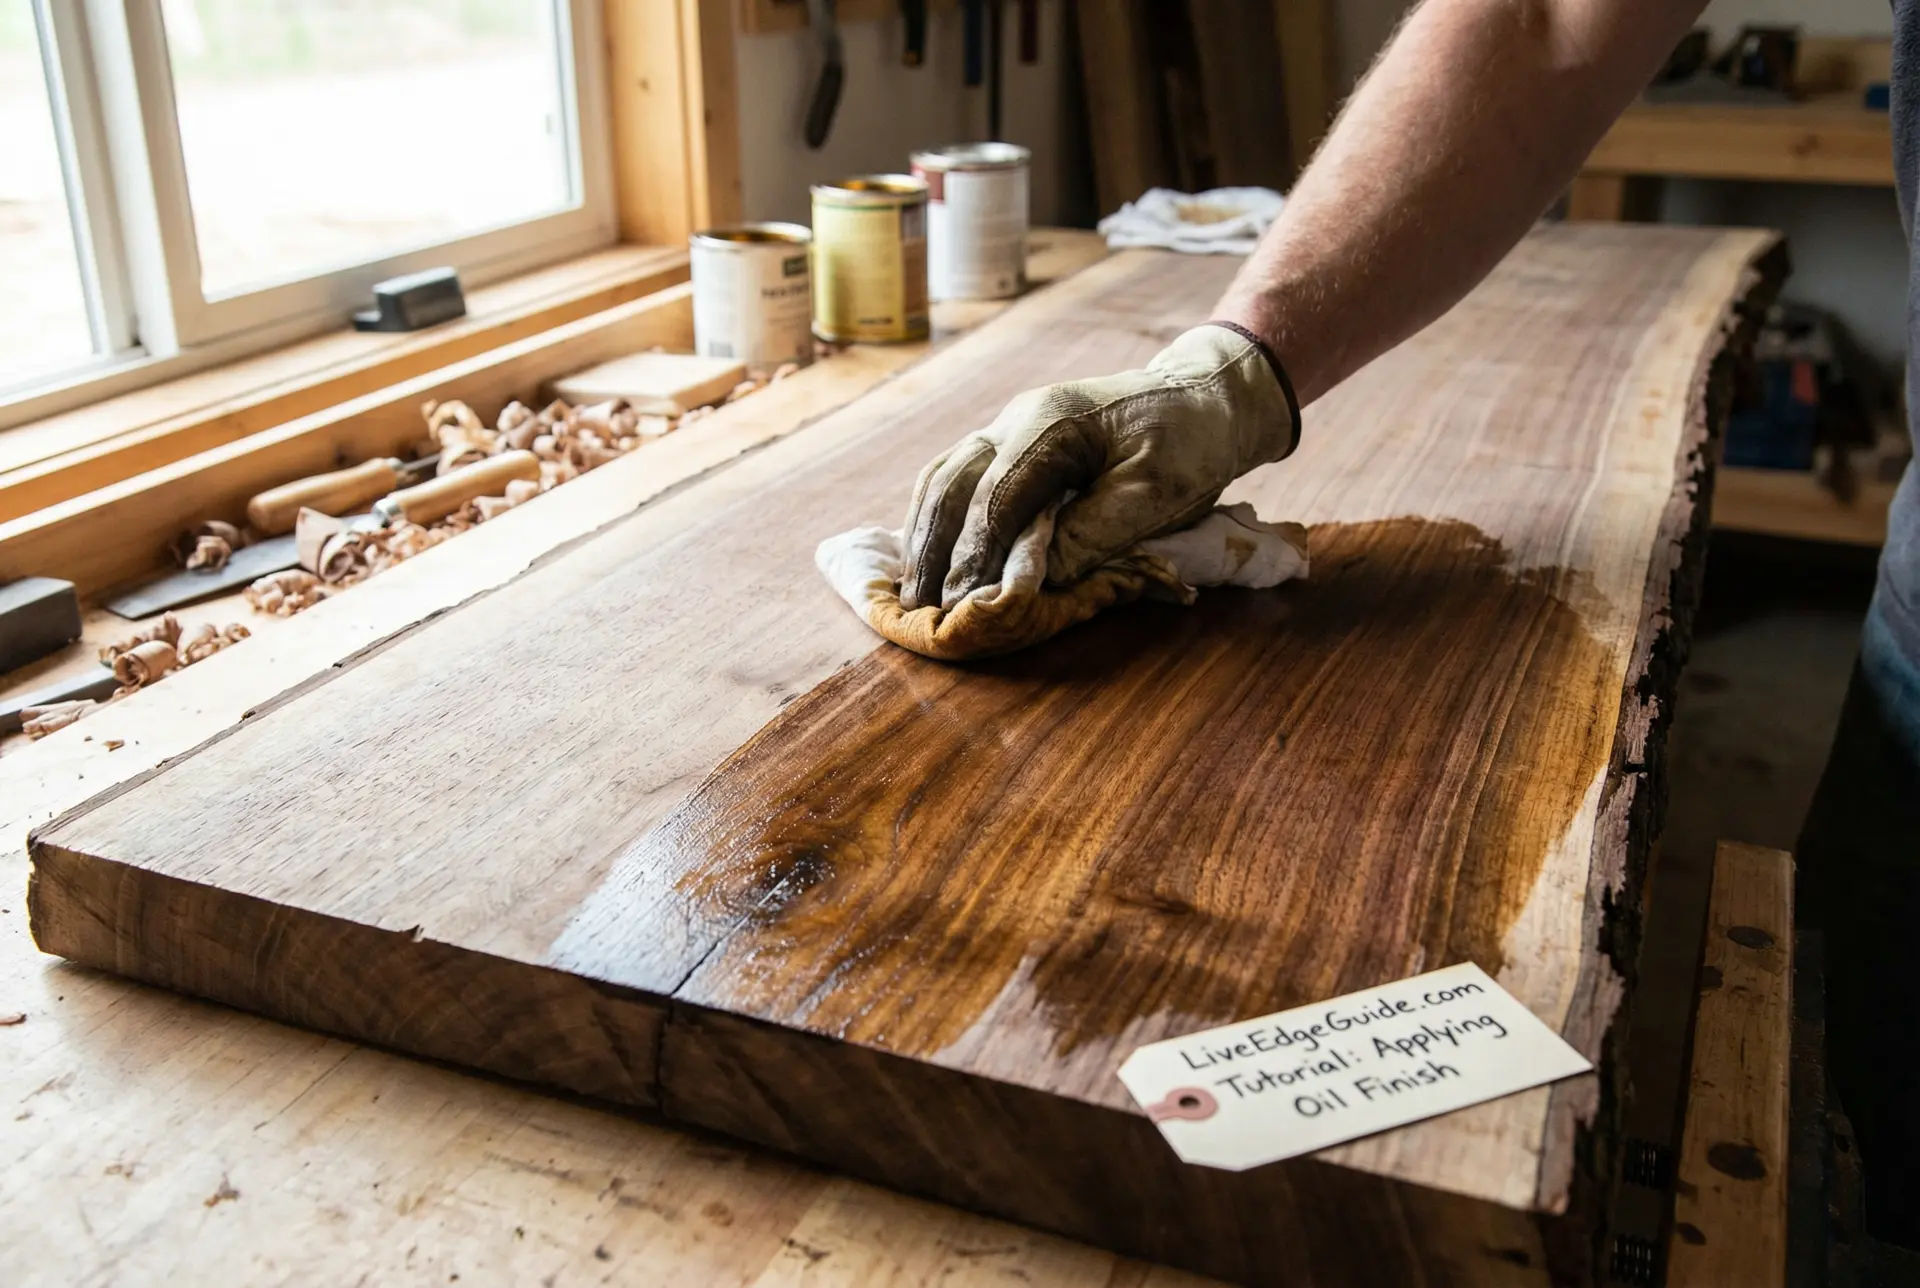
11. The Science of Molecular Bonding (Hardwax Oils)
We primarily recommend Hardwax Oils (like Rubio Monocoat) for residential tables. Unlike traditional polyurethane, which sits on top of the wood like a plastic sheet, hardwax oils work through Molecular Bonding:
- How it Works: The oil bonds with the first micron of the wood fiber. Once it has bonded with a fiber, it cannot bond with it again. This is why we can apply it in a single coat without overlapping marks.
- The Benefit: It creates a matte, breathable finish that is incredibly durable against water and heat but still feels like real wood. If you scratch the table, you don't have to sand the whole thing; you just apply a drop of oil to the scratch, and it bonds only to the exposed wood fibers.
10. Cataloging and Threaded Inserts
A premium table never has wood screws holding the legs.
- Threaded Inserts: We drill holes and epoxy-set brass or steel threaded inserts into the underside of the slab.
- Machine Bolts: The legs are then attached with machine bolts. This creates a rock-solid connection that can be disassembled and reassembled hundreds of times without stripping the wood.
11. Seasonal Accounting (Slotted Holes)
Wood is a "breathing" material. A 40-inch wide table can expand and contract by up to 1/4" between a humid summer and a dry, heated winter.
- Engineering: Our leg plates feature Slotted Holes. These allow the bolts to slide as the wood moves, preventing the internal tension that causes tables to crack.
11. Dust Control Physics: Managing Silica and Micro-Fines
Woodworking on this scale produces a staggering amount of dust. For high-density woods like Texas Pecan or Parota (which has high silica content), managing these "micro-fines" is a matter of both health and finish quality.
- HEPA Filtration: We use 2-stage dust collection with HEPA filtration capable of capturing particles down to 0.3 microns.
- The Finish Impact: If a single speck of dust lands on a wet hardwax oil finish, it creates a "nib." We use antistatic air blowers and tack cloths to ensure a "clean room" environment before the final bond occurs.
Phase 4: Climate Adaptation and Final Assembly
A table must be engineered for its destination, not just its birthplace.
12. Seasonal Accounting: The Physics of Destination
If a table is built in the humid climate of Gulf Coast Texas but shipped to the dry high-desert of Arizona or the radiator-heated apartments of New York City, the wood will react.
- The Golden Range: We dry our slabs to 6-8%, which is the midpoint for most indoor environments (30-50% RH).
- Expansion Gaps: We design our base mounting plates with "oversized" slots. This allows the table to shrink in the winter and expand in the humid summer without the wood internalizing enough stress to crack.
13. Preserving the "Living" Edge: Manual Artistry
The most difficult part of the process is cleaning the actual live edge without destroying its character.
- Nylon Brushes: We avoid wire brushes which can scratch the wood. Instead, we use high-grit nylon filament brushes that follow the natural contours (the "undulations") of the tree's growth.
- Manual Scraping: In areas where the bark was particularly stubborn, we use hand-held cabinet scrapers. This removes the "inner cambium" layer while preserving the "figure" of the edge that the tree spent hundreds of years growing.
14. Quality Control: The 10-Point Inspection
Before a Kovara table is crated, it undergoes a final technical audit:
- Moisture Verification: Final probe test.
- Flatness Tolerance: Must be within 1/32" across the entire span.
- Torque Settings: Threaded inserts checked for stripping.
- Sanding Uniformity: Checked under raking light for "pigtails."
- Edge Smoothness: Hand-felt for "burrs" or sharpness.
- Structural Tension: C-channel bolts verified for movement clearance.
- Epoxy Clarity: No micro-bubbles or delamination.
- Weight Balance: Center of gravity verified for base stability.
- Finish Saturation: Dry-touch test for complete curing.
- Aesthetic Approval: The "Masterpiece" check against the client's original vision.
Final Summary: The Heirloom Standard
A finished live edge table from Kovara is the result of over a year of patient drying and dozens of hours of high-precision engineering. By following this meticulous process, we ensure that your investment will remain as flat, stable, and beautiful for your grandchildren as it is on the day it arrives in your home.
Ready to Start Build?
- Select Your Slab: Browse our Inventory.
- Choose Your Finish: Rubio Monocoat vs. Varnish.
- Plan Your Long-term Care: Read our guide on Maintaining Live Edge in Texas.
- Plan Your Space: Use our Sizing Calculator.
Expert Craftsmanship.
Our workshop is ready to bring your vision to life using these master fabrication standards.
Start Custom Build